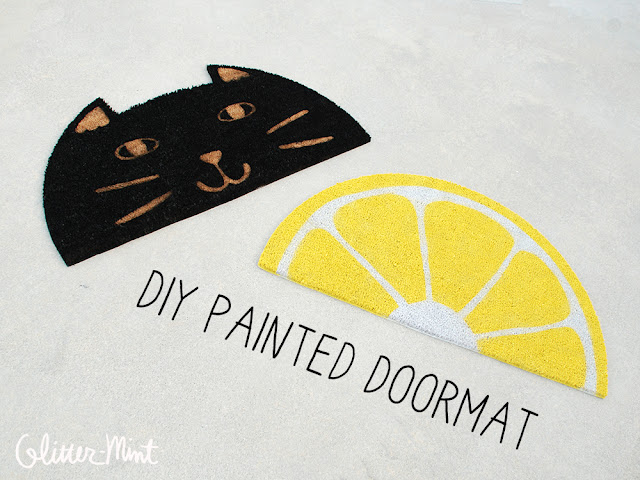
Painted Lemon and Cat Doormats
Happy Summer everyone! We found some time to get a couple DIYs posted during our summer break. It's been so long, I'll have to admit that I am a bit rusty at publishing tutorials! Hopefully you all can hang in there with us while we get our groove back! Let's get on with the post! One day I was scrolling through Pinterest for some housewarming gift ideas and I came upon this post from The House That Lars Built. I followed her instructions for the lemon tutorial and adapted it to create the cat doormat. Lisa and I spent a few hours one afternoon whipping these bad boys out and I couldn't be more happy with the results! Watch the video we made for this tutorial or read the full tutorial below. If you have any questions feel free to leave us a comment on the video or post!
Materials:
- half-circle doormat - this one
- glossy spray paint - for lemon: yellow and white // for cat: black (suggested brand here)
- large paper for creating template (thick enough so paint won't seep through, i used some drawing paper)
- dressmakers pins
- box cutter and scissors
Directions for Cat mat: 1. Create your template by tracing the semi-circle and sketching out where the ears will go. 2. Cut out the block for the ears with a box cutter and scissors (the mat was very easy to cut from the backside). 3. Place the face details down and pin them into place. 4. Spray the entire mat with black. Leave out to dry for at least 24 hours and it's all done!


Wow, it is very wonderful design. This is very beautiful, I really liked it. Thanks for provide us helpful design. I am trying to make this and may be it will make good with your design ideas.
ReplyDelete